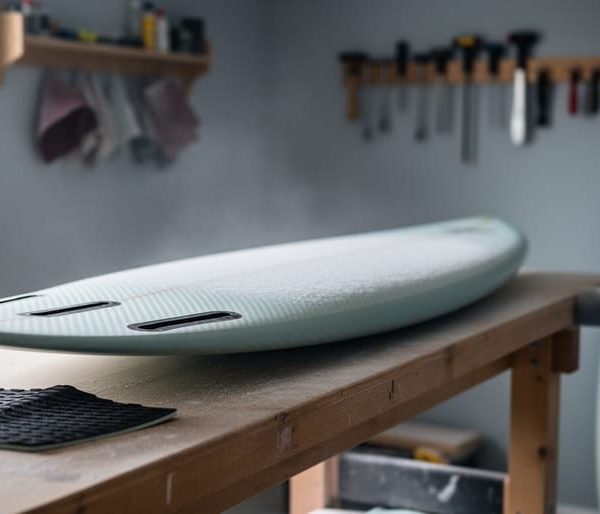
You can build a 7′ river surfboard in your own garage, and you don’t need to be a shaper to pull it off. Plan on a few weekends of work, a modest tool kit, and a willingness to get a little foam dust in your hair. The method is simple: cut a foam blank to shape, glass it for strength, and add the right rocker, rails, and tail for moving water.
Why 7′? On a river wave, a board that size gives you the sweet spot between float and flick. You get enough volume to catch a push of current and stay up on a softer, slower face, but the board is short enough to carve, pivot, and tuck into a pocket without fighting you. Beginners find it forgiving. Experienced riders find it lively.
Here’s the part most beach surfers don’t expect: on a river, the design details do more work than they ever do at the coast. Standing waves hold you in one spot, so a little too much tail or a flat rocker shows up fast.
Don’t worry if terms like rocker (the curve of the board from nose to tail) sound new. We’ll explain every one as we go, and you’ll be riding your own board sooner than you think.
Why a 7′ Board Works So Well on River Waves
Planning Your Shape: Outline, Rocker, and Volume Basics
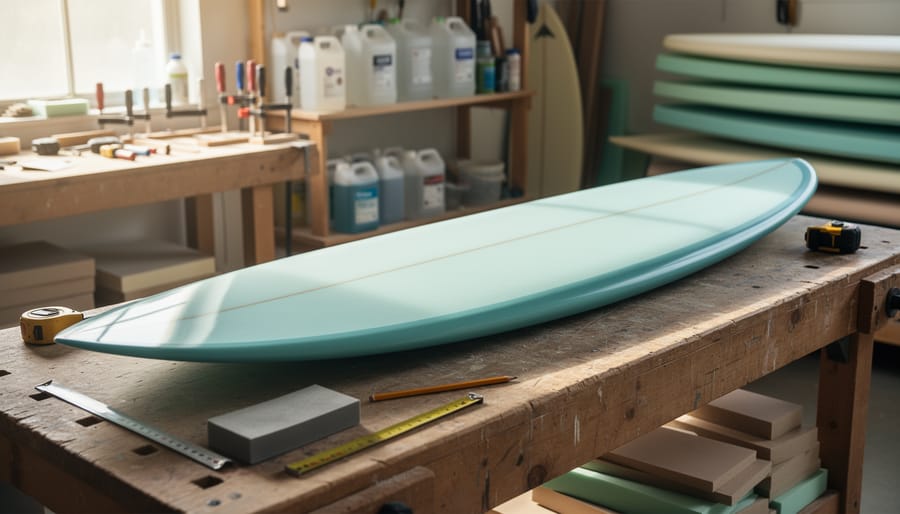
Before you touch a blank, you need a plan. A first 7′ river board should be forgiving, stable and hard to hurt, and a few design choices get you there.
Start with the outline, the shape of the board seen from above. Go wide and rounded, with fuller curves through the middle. River waves are fast and pushy, so extra width gives you paddle-in help and a stable stance, and it’s a big part of why river boards feel not like ocean boards.
Next is rocker, the curve of the bottom from nose to tail. Keep it moderate. Too flat and the nose can dive into the current, too curvy and you lose speed on a standing wave. Volume is simply how much space the board takes up, measured in liters, and it’s what keeps you floating and stable. Rails are the board’s edges, and softer, rounder ones are more forgiving when you tumble.
Here’s a simple checklist for your first build:
- Width of about 21 to 23 inches: more stability and easier takeoffs on pushy water.
- Thickness of roughly 2.5 to 3 inches: enough volume to float you without feeling bulky.
- Rounded, softer rails: gentler on you and on the board if you hit a ledge or rock.
- Rounded square or round tail: holds steady on a fast-moving wave.
- Shorter fin boxes with softer fins: less risk of snagging the riverbed and kinder to your legs.
That last point matters more than most beginners expect. Shallow water and hidden ledges are part of the territory, so many river riders favor smaller, flexible fins that give a little on impact. Think of it as designing for the river you’ll actually ride, and you’ll get a board that’s friendly from day one.
Tools and Materials You’ll Need for a DIY 7′ River Surfboard
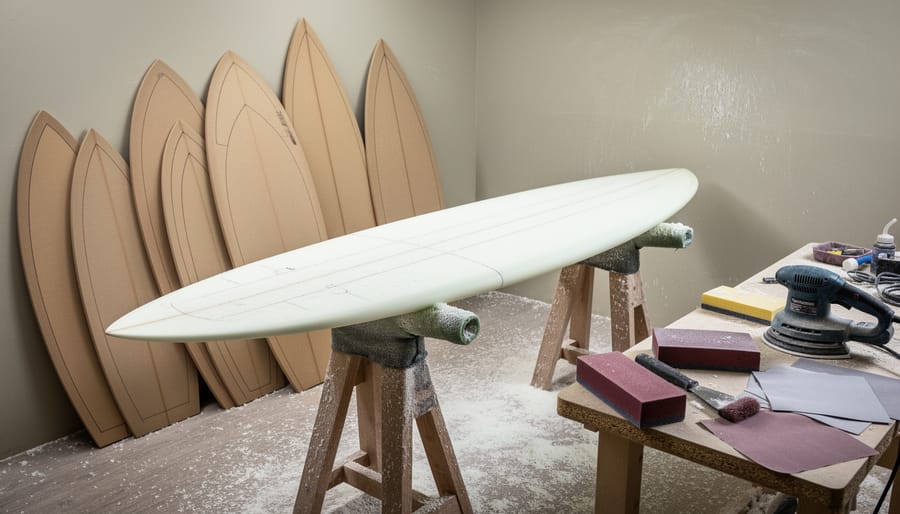
Before you cut a single line, get your gear and workspace sorted. Good news: you don’t need a pro shaping bay, just a ventilated garage, a sturdy pair of sawhorses, and a bit of patience.
Pick your build path. The most beginner-friendly route is an EPS foam blank (expanded polystyrene, the light white foam you’ve seen in coolers) paired with epoxy resin, which is the only resin that plays nicely with EPS. Polyester resin will literally melt it. If you love the look and feel of timber, a paulownia wood build is lighter than most hardwoods and gorgeous, though it takes more time to assemble. A foam-and-wood hybrid, with a foam core and thin wood skin, gives you durability for rocky rivers without huge weight.
Core materials:
– A 7′ EPS blank (or paulownia boards, if going the wood route)
– Epoxy laminating resin and hardener
– Fiberglass cloth, typically 4 to 6 oz, plus extra for fin boxes
– Fin boxes and screws
– Sandpaper in a range of grits, from coarse to fine
– Deck grip or a wax-friendly finish
Tools and consumables:
– Surform or hand planes for shaping
– Sanding block and a random-orbit sander
– Pencil, flexible batten for drawing curves, and a straightedge
– Mixing cups, stir sticks, squeegees, and brushes
– Nitrile gloves, a respirator, and safety glasses
– Masking tape, plastic sheeting, and a dust mask
Workspace needs. Aim for a space that stays between roughly 65 and 80°F so your epoxy cures properly, with good airflow and a way to keep dust off wet resin. Cover the floor, because cured epoxy doesn’t forgive.
Save money without cutting corners. Skip fancy shaping stands and use padded sawhorses. Buy resin in a small kit instead of bulk for a first build. Check local surf shops for blank seconds, which are blanks with cosmetic flaws that don’t affect performance.
Lean on your community. Local river surfers often have planers, sanders, and spare cloth they’ll lend, and some will happily share a shaping bay or offer tips. Ask around at your nearest wave. Most riders love helping a newcomer get a first board built.
Safety Warnings Before You Cut, Glue, or Glass
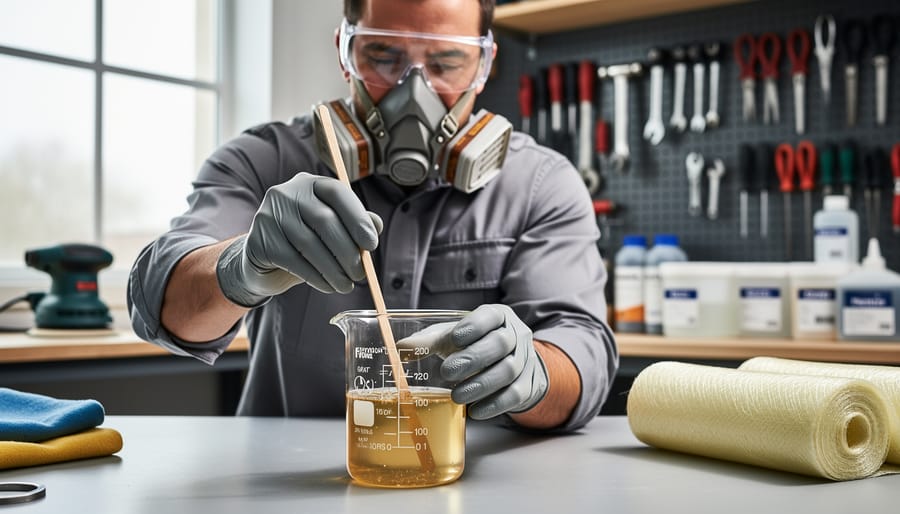
Let’s get the safety talk out of the way early, because a few simple habits keep this build fun. None of it is complicated, and none of it should scare you off.
Start with air. Foam dust and resin fumes are the main hazards, so work with the garage door open and a fan pulling air out, and wear a respirator rated for organic vapors plus a dust mask when sanding. Fine particles from sanded foam and cured resin are no joke, and these notes on epoxy dust hazards explain why a mask beats a bandana every time.
Epoxy rewards patience. Measure your mixing ratio exactly as the label says, because eyeballing it leaves sticky spots that never cure. Watch the temperature too: a warm shop speeds cure times, a cold one drags them out. Keep rags and dust away from heat sources, since fine foam dust and solvent-soaked rags can ignite.
Treat your tools with respect. Clamp the blank down, keep both hands behind the cutting edge, and unplug planers and sanders when you change blades or paper.
Here’s the river-specific part, and it starts at the workbench. Rivers mean ledges, rocks, and shallow water, so a sharp rail or pointy tail can do real damage to you. Round your nose, soften your rails, and sand every edge until it feels friendly in your hand. For a deeper look at the whole process, check out this DIY construction guide.
Building Your 7′ River Surfboard, Step by Step
Shaping the Blank: Outline, Rocker, and Rails
Shaping is where your 7′ board stops being a block of foam and starts looking like a river board. Slow down here. Foam comes off fast, and you can’t put it back.
Start by tracing your 7′ template onto the blank, centered on the stringer line (the thin strip running down the middle) so both sides match. Measure twice from the nose and tail. Then follow the sequence:
- Mark the outline and double-check width at the nose, center, and tail.
- Cut just outside the line with a handsaw or jigsaw, leaving a few millimeters to refine.
- Plane the deck and bottom down toward your target thickness, working in long, even strokes.
- Shape the rocker (the bottom curve), keeping it gentle so the board stays stable on pushy waves.
- Round the rails, aiming for fuller, softer edges toward the nose.
- Sand the whole shape smooth with progressively finer paper.
- Install your fin boxes or plugs.
- Glass or seal the board, then let it cure fully.
- Finish with a final sand, then add grip or traction.
Check symmetry often. Sight down the board from the tail like you’re lining up a rifle, and look for lumps or twists. Run your hands along both rails with your eyes closed; your fingers catch uneven spots your eyes miss. A tape measure across the same points on each side confirms what you feel.
Pay extra attention to the rails and nose. Rounder, softer edges are kinder to your body and the board when you meet rocks and ledges, which connects directly to river surfing safety. If a rail feels sharp, keep sanding.
Plan on a few unhurried evenings for this stage. Rushing is the most common beginner mistake, and the patient builders end up with the best boards.
Glassing, Fin Setup, and Finishing Touches
Glassing is where your shaped blank becomes a real board, and it rewards patience. Lay your fiberglass cloth over the bare foam and cut it a couple of inches oversize. Mix epoxy in small batches, following the maker’s ratio exactly, since eyeballing it is the fastest route to tacky spots that never cure. Pour a bead down the center and spread it outward with a squeegee, using light, even pressure. Your goal is cloth that turns clear, not a thick puddle of resin. Excess epoxy just adds weight.
Air bubbles are the classic beginner headache. Work from the center out, and lift and re-lay any trapped spots right away. Uneven cloth tension causes wrinkles, so smooth the cloth flat before you pour and trim the laps at the rails once it gels.
For river use, fin boxes deserve a little thought. Many river riders favor shorter boxes and set fins slightly forward to keep the board loose in tight, shallow water. Mark the positions carefully, rout the openings, and set the boxes in epoxy thickened with filler. Check alignment before it cures.
Give the board a full cure, typically a day or more depending on temperature, before sanding. Then sand with progressively finer grits, keeping the sander moving. Over-sanding through the glass at the rails is easy to do and weakens the exact spot that meets rocks and ledges, so go gently.
Finish with traction. Apply wax or stick on a deck pad where your back foot lands, and your 7′ river board is ready for its first test.
Check Your Work and Plan Your First River Session
River-Specific Tips for Your First Ride
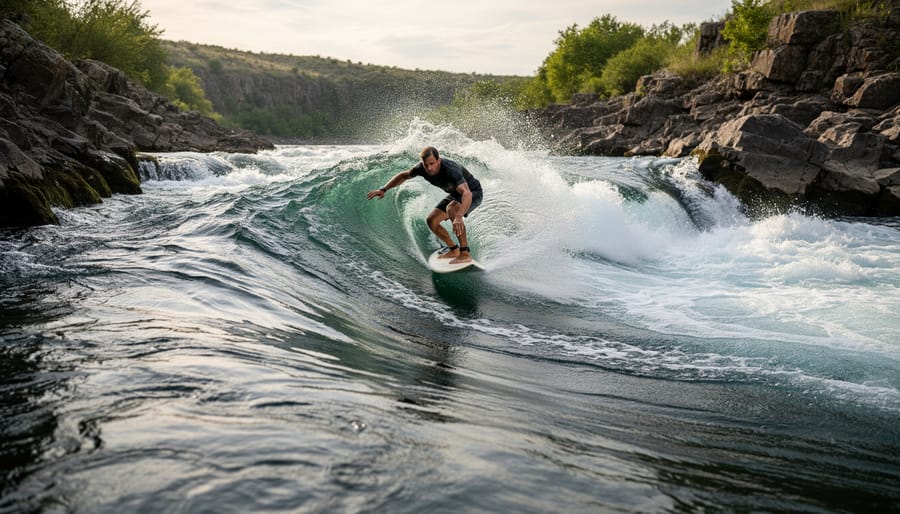
Before you paddle out, spend ten minutes watching the wave. River waves hold their shape, so you can see exactly where the green face peaks and where the foam pile sits. Read the current too: it pushes you downstream constantly, so aim to enter from the eddy upstream of the wave and ferry across into the pocket.
Your new 7′ will feel different from an ocean board. With no rolling swell lifting you, the current does the work, and a board with decent volume sits stable while you find your feet. Expect it to turn sharply, so start with gentle weight shifts rather than big cranks. Stand a touch closer to the tail than you would on a long board, and keep your weight centered over the stringer line to stay in the sweet spot.
Respect the eddy line, that visible seam where fast water meets slow. Crossing it can grab your board and spin you, so cross it with speed and a low stance.
Know how to bail before you need to. Fall flat or away from the board, protect your head, and swim toward the nearest eddy rather than fighting the current. Rocky bottoms are shallow, so never dive in headfirst. Watching a few local surf events is a great way to see how experienced riders handle all this.
Learning from the Community: Builders Who Shaped River Surfing
River surfing didn’t start in a factory. It grew out of curiosity, a few borrowed ocean boards, and people willing to try something nobody had a manual for. Early riders on standing waves worked it out the hard way: ocean boards often felt twitchy in pushy current, and shallow, rocky riverbeds punished long fins and pointy noses. So they started modifying what they had, shortening fins, rounding off rails, and experimenting with sizes like our friendly 7′.
That tinkering spirit is still the heartbeat of the sport. Look around any river wave and you’ll find riders on boards that have been tweaked, repaired, or built from scratch in a garage. Plenty of today’s purpose-built river designs trace back to someone who got tired of a board that didn’t fit the water and decided to make a better one. Stories of river wave riding from around the world show how much of this culture is shaped by local conditions, local builders, and a shared willingness to learn from each other.
That’s the real lesson here: you don’t need a famous name or a professional shaping bay to contribute. Every river has its own personality, and the boards that work best are often born from riders who know that specific wave. Your first 7′ build is a small part of that long, scrappy tradition.
Got a build story, a mistake that taught you something, or a photo of your finished board? Share it with the Riverbreak community. The next great river design might start with your garage project.
7′ River Surfboard Build FAQs
Most first-time builders ask the same handful of questions, so here are straight answers before you pick up a planer.
Can a total beginner really build a 7′ river board?
Yes. A forgiving outline, moderate rocker and a simple finish are well within reach if you work slowly and check your symmetry often. Plan on a few weekends rather than one marathon day, and borrow tools or advice from local river riders where you can.
How much does it cost, and should I build or buy?
Costs swing a lot depending on whether you go foam or wood and what tools you already own, so price your blank, resin and cloth before committing. Building makes sense if you enjoy the process and want a custom shape. Buying makes sense if you need to be riding this month or don’t have space for a workshop.
Foam or wood, and which holds up on rocky rivers?
Both can survive a rocky river if the rails and tail are well finished and the glassing is solid. Foam with epoxy is lighter and easier to shape, while wood feels sturdier but is heavier to carry to the bank. Rounded rails and a clean seal matter more than the core material.
Do I need a leash on the river?
This one depends on the wave and the current, so talk to experienced riders at your local spot first. On some rivers a leash can tangle in rocks or debris, which is a real hazard, while others have riders who use a breakaway setup. Ask before your first session rather than guessing.
If any of these answers made you want to dig deeper, that’s a good sign. Take your questions to the people at your nearest river wave, because the best advice usually comes from someone who has already rinsed off a first build in that exact current.
Building your own 7′ river surfboard is absolutely within reach. You don’t need a pro shaping bay or years of experience, just patience, a plan, and a willingness to learn as you go. Start with a forgiving outline, shape slowly and check your symmetry often, glass carefully, and finish those rails so they’re friendly to the rocks and ledges you’ll meet in shallow water. Keep safety front and center the whole way through: ventilate your space, wear your respirator, and respect your epoxy.
Then comes the best part. That first session on a board you made yourself, feeling it bite into a pushy river wave, is a feeling no store-bought board can match.
When you’ve built your board and taken it for a ride, we’d love to see it. Share your photos, your lessons learned, and your first-session stories with the Riverbreak community. Your build might be exactly the push someone else needs to start theirs.